
Most of us are familiar with the screenshot button on our keyboards, but if you only want to copy part of the screen, you’d have to paste that screenshot into an editing program and crop it. Or maybe there’s an image you need (and have permission to use), but a website isn’t allowing you to download it. What you need is a free screenshot tool to make your life easier.
There are many options to capture screenshots on the market. Some are free, some have a one-time charge, and other programs offer subscription plans. But unless you are a developer and need the greater options the paid tools offer, you might consider a free program. One of the easiest and most accessible is Snipping Tool by Microsoft. With this tool you can easily copy any part of your screen—and you can even annotate it. Plus the image is temporarily saved to your clipboard so you can paste it without first saving it somewhere.
How to find this free screenshot tool
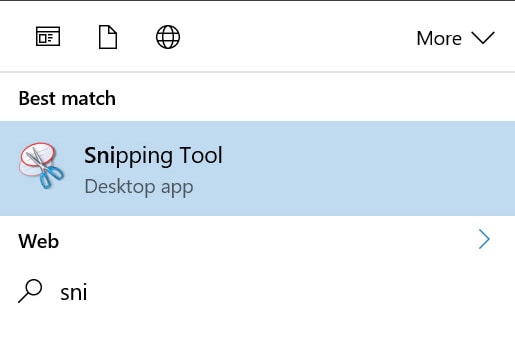
To find it, simply begin typing “s n i p . . .” into your Window’s search and the tool should come up. Click to open it. At this point you can pin it to your task bar or put it in your favorites for easy access later.
Identify what part of the image to snip
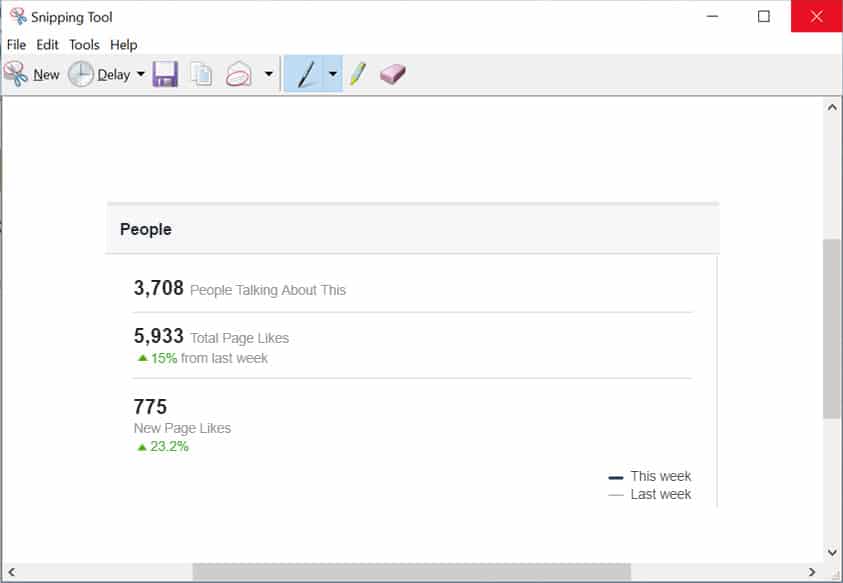
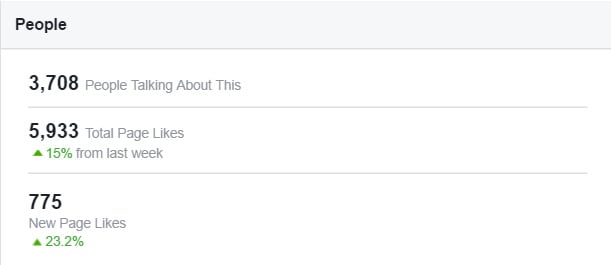
Here we wanted to take a snapshot of the way our Facebook page is growing and how many people were talking about us that day on Facebook.

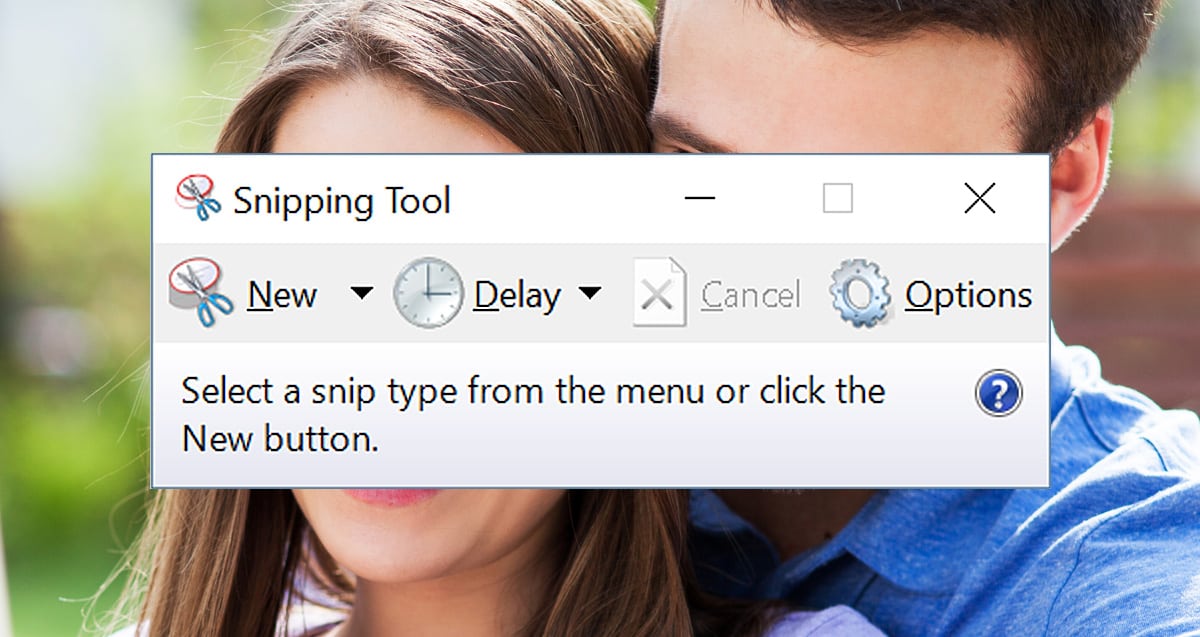
Bring up the Snipping Tool
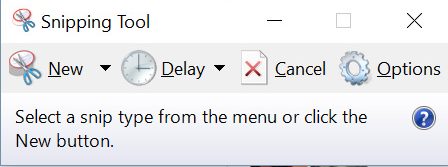
Click on “New” and the background will fade
Don’t worry if the snipping menu appears to be over part of the screen. It won’t be in your final shot. But you can always move the Snipping Tool to any part of the computer screen before you click “New.”

Use your cursor to snip out the text you want
Click and hold on the corner of the area you want to snip, then, while still holding the mouse button, move the cursor to the opposite corner. When you are finished, release and you’ll have something like the screenshot below.
Annotate and highlight
You can use the pen and highlighter to make annotations on your image. They are very rudimentary but do the job, so take some time to click the menu and toolbar buttons to get a feel for what the program can do.
Paste wherever you want without saving
This free screenshot tool has now copied your chosen image (including annotations) onto your clipboard, so go ahead and paste it wherever you want to use the image (see below how it will paste). Or you can choose “File” and “Save” to keep a file on your computer.
More Options
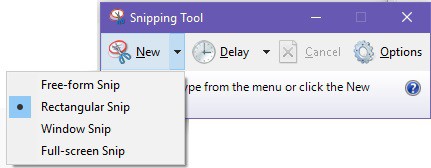
For this tutorial, we’ve used the “Rectangular Snip” option. But there are more options! If you click the little down arrow to the right of the “New” button, you’ll find a few extra snipping options:
- Free-form Snip
- Rectangular Snip (the default one we’ve used for this tutorial)
- Window Snip
- Full-screen Snip (essentially, a print screen that you can annotate)
The Free-form Snip option is cool but hard to control with the mouse. It works really well on touch screens that support a pen, such as with the Microsoft Surface device.
And the delay option is great for taking screenshots of menus that go away when you click on the snip tool (thank you P.H. Solomon for pointing that out!)
Using your free screenshot tool is that easy! Happy snipping!


Comments